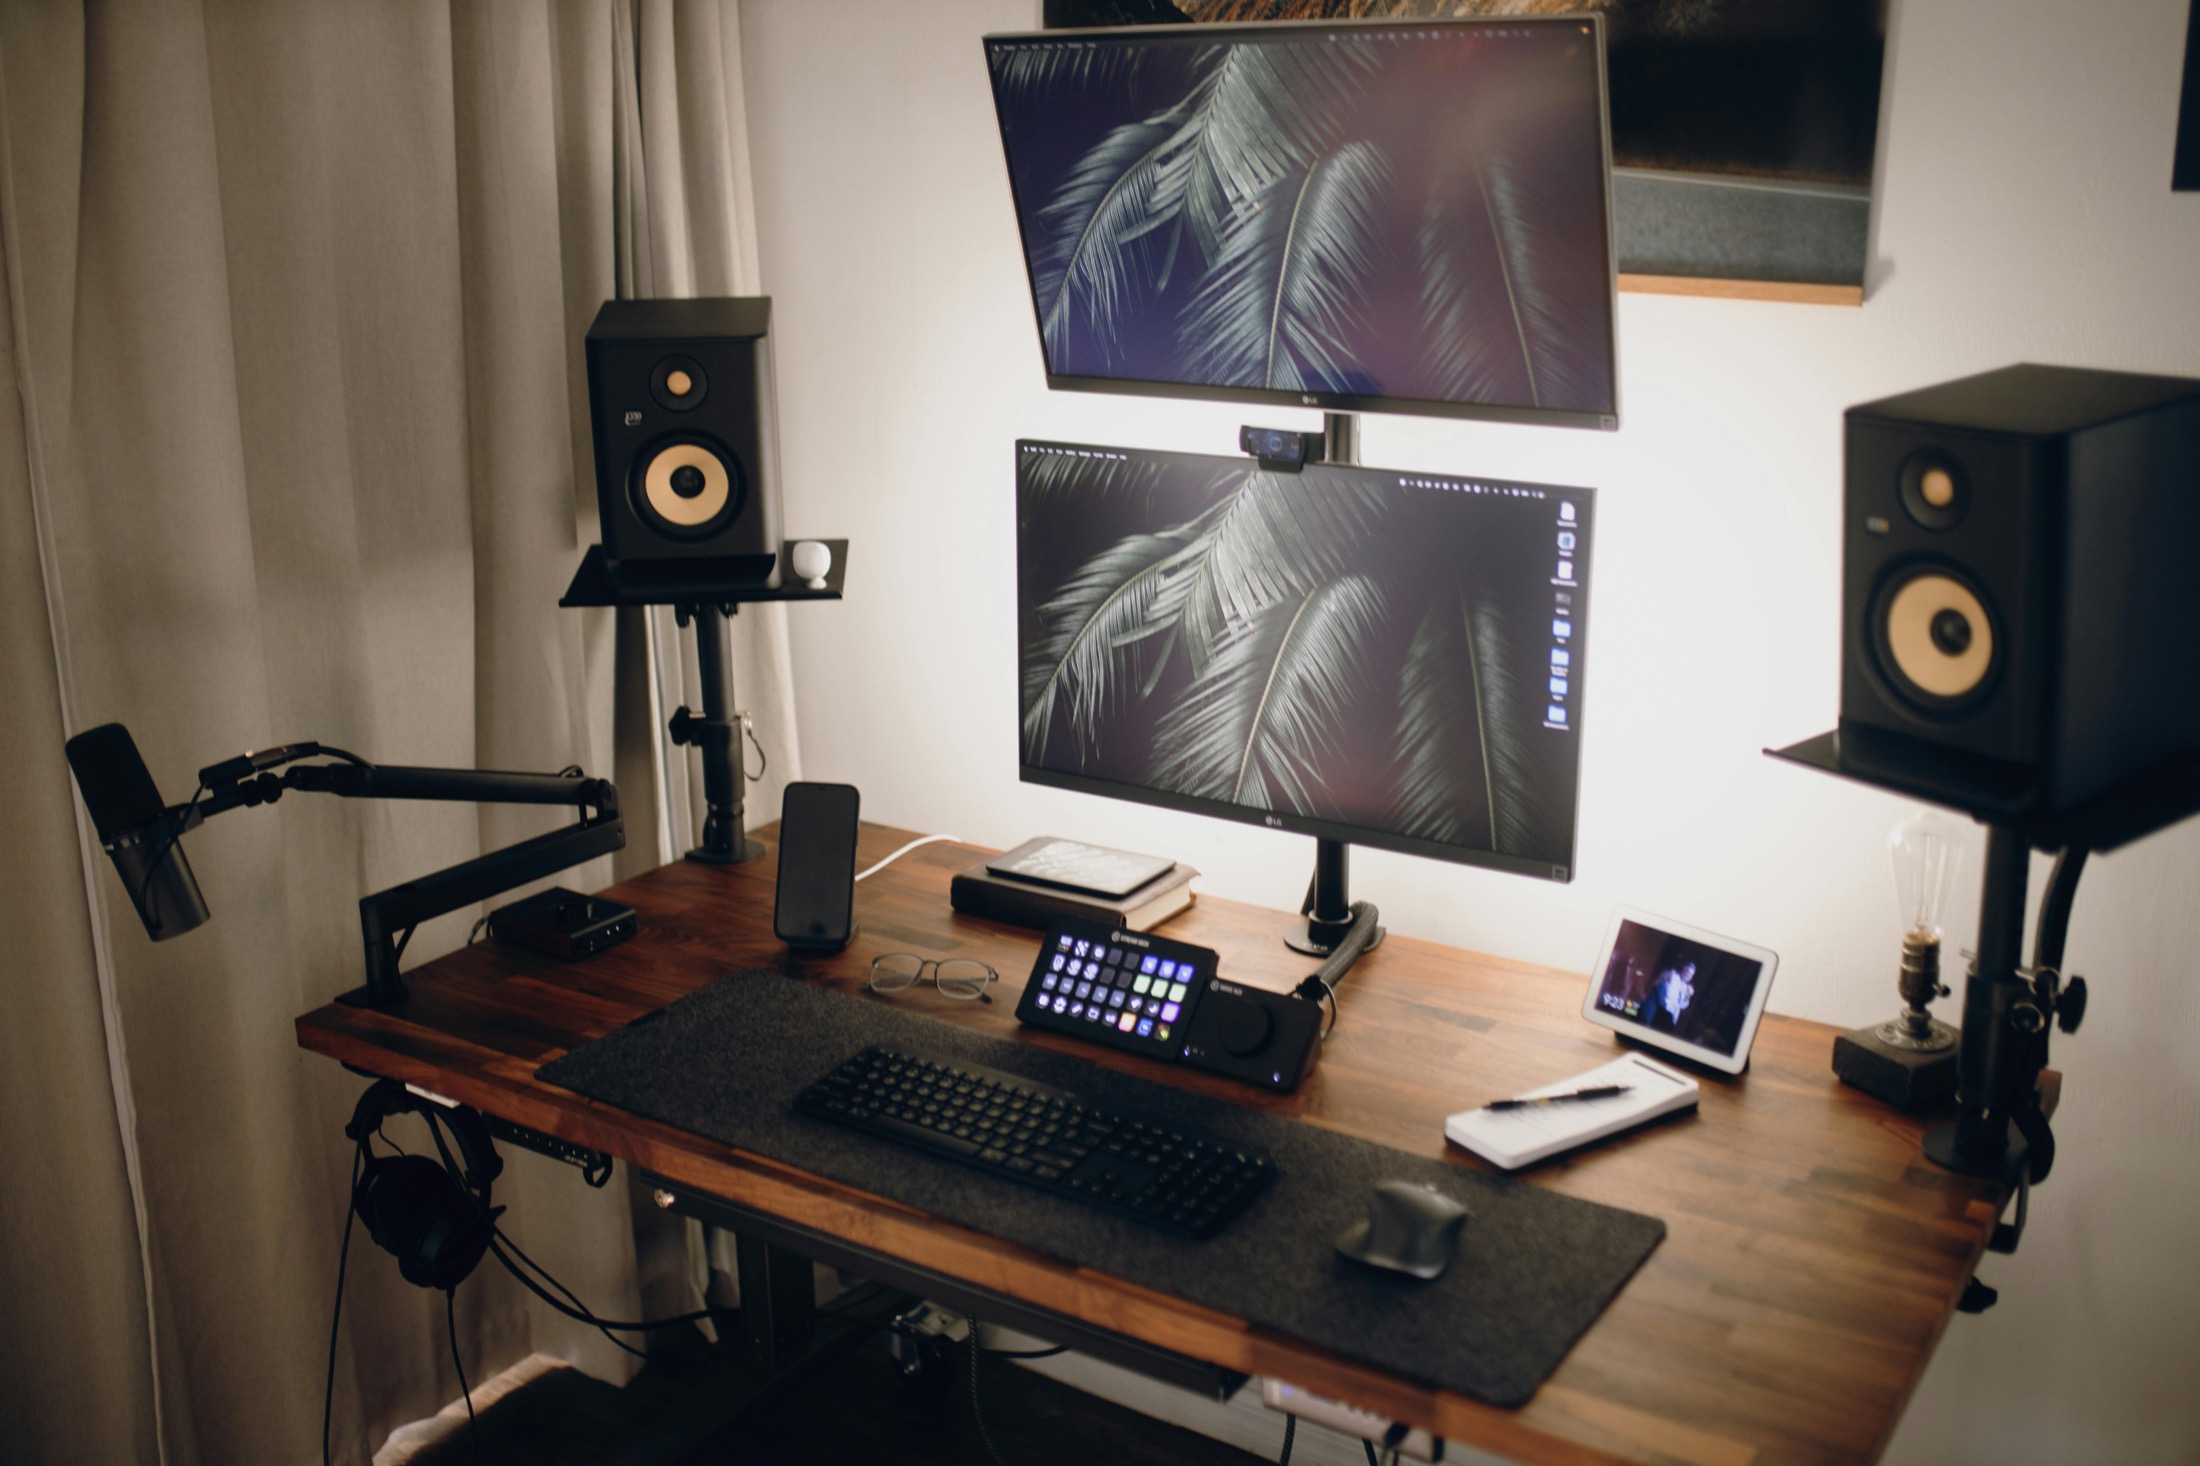
Meld Studio feels lighter than OBS when you first open it, but the speaking problem is the same. You know the flow of the stream or tutorial, then the moment you hit record, the intro gets clumsy, the transition line disappears, or the call to action comes out flat.
That is where a teleprompter helps. This guide pulls from Meld Studio’s current documentation and official beginner material, with a focus on the parts that matter most for real recordings: scenes, layers, audio, recording settings, Multi Canvas, and where to keep your prompt so it helps without ending up on screen.
Meld’s own getting-started article includes an official beginner walkthrough called Start Streaming and Recording to Twitch or YouTube. It is a good companion to the docs because it stays close to the actual interface and covers setup without burying you in edge cases.
The fastest good Meld setup
Start here if you want something that works today:
- Install Meld Studio on Windows 10+ or macOS 12+.
- Create one scene for your first recording.
- Add one video layer or one display layer, plus your microphone.
- Keep the teleprompter in a separate browser window, not inside your live scene.
- Set a recording folder before the session starts.
- Record a 60-second test and watch it back.
That setup is enough for a clean first tutorial, lesson, or live segment.
How Meld Studio is organized
Meld works best when you understand its layout before you start stacking features on top of it.
- Scenes and Layers sit on the left.
- The Canvas and Audio panel sit in the center.
- The Inspector panel sits on the right.
The official getting-started guide uses that same breakdown, and it is the right way to think about the app. Your scene is the layout. Your layers are the pieces inside it. The Inspector is where you adjust the selected layer.
The Layers documentation lists the core layer types you will use most often:
Video Devicefor a webcam, capture card, or virtual cameraDisplay Capturefor an application window or entire desktopGame Capturefor fullscreen gameplayBrowserfor a web page or overlay URLTextandMarkdownfor on-screen copyDuplicatorwhen you want to reuse a layer or whole scene across other scenes
You can build most teleprompted recordings from that without getting lost.
Which layer to use for each recording job
If you are deciding how to build the scene, this is the useful version:
| What you want to record | Best layer to start with | Why |
|---|---|---|
| Camera intro or talking-head segment | Video Device | Best fit for webcams, cameras, and capture cards |
| Software demo or browser walkthrough | Display Capture | Designed for app windows or full desktops |
| Fullscreen gameplay with commentary | Game Capture | Auto-captures fullscreen games by default |
| Web overlay, timer, or alert URL | Browser | Loads a web page directly into the scene |
Meld’s Display Capture docs are especially useful here because they make it clear that a display layer can point at either an application window or an entire desktop. If your teleprompter is sitting on the same display you are capturing, that matters a lot.
The best place for the teleprompter
For most Meld Studio users, the teleprompter should stay outside Meld.
Open the prompt in a normal browser window and place it where it supports the kind of video you are making:
- For a camera intro, keep it close to the lens.
- For a software tutorial, keep it on a second display if you can.
- If you only have one screen, capture the app window instead of the whole desktop so the teleprompter stays outside the recording.
- If you are making vertical clips with the camera close to your face, shorten the lines even more than you would for a horizontal video.
The mistake to avoid is simple: if your prompt sits inside the captured area, it can show up in the final output. Meld is doing exactly what you asked it to do.
Why a Browser layer is usually the wrong place for the prompt
Meld makes this tempting because its Browser layer is easy to use. You can add a Browser layer from the Layers panel, paste a URL directly onto the canvas, and even interact with the page inside Meld.
That does not mean it is the best teleprompter setup.
In most cases, no. If the prompt is in the scene, it is part of the scene. Your viewers will see it unless you are deliberately building a special layout around it.
Where Browser layers do make sense:
- Overlays
- Timers
- Alerts
- Embedded web demos
- Rehearsal experiments where you know the prompt is in the frame on purpose
If you do experiment with a Browser-layer prompt, one small doc detail is worth knowing: Lock Size can help stop the page from stretching in odd ways when you resize the layer.
If you are teaching Meld itself
This is the one case where the official docs have a very specific tip worth using.
Meld has a Record Meld with Meld guide for avoiding the hall-of-mirrors effect when you need to record Meld Studio itself. On Windows, they recommend running a second instance with a custom data path and using that second instance to capture the first one.
That matters for teleprompting too. If you are recording a Meld tutorial:
- Keep the teleprompter outside the captured instance.
- Put it on a second display if possible.
- Script only the opening, transitions, and exact feature names.
Do not try to read every explanation word for word while demoing the interface. That usually slows the whole lesson down.
Audio setup matters more than extra scenes
Meld gives you more audio control than many people realize, and it is one of the best reasons to slow down and test before you go live.
The Audio docs break audio sources into three types:
Audio Input DeviceAudio Output DeviceProcess Audio
All three are available on Windows. On macOS, the docs say Audio Input Device is the standalone audio source type available in the mixer.
Meld also includes a few built-in audio tools that are genuinely useful for spoken delivery:
Voice Clarityfor noise suppression and automatic gain controlGainfor level adjustmentsCompressorfor ducking music under your voiceCUEmonitoring so you can hear a track in headphones
If you are recording a teleprompted lesson, do one audio pass before anything else. Check whether your mic is clear, whether the app audio is too loud, and whether your voice sounds steady after you add the prompt. A nice script does not save bad audio.
Recording settings that keep you out of trouble
Meld keeps most of the important choices in Settings → General, which covers canvas, encoder, stream outputs, recording, clipping, and screenshots.
The current settings docs note that:
1080pis the default Main Canvas resolution- Meld supports
30 fpsand60 fps - If hardware encoding is disabled, Meld falls back to
x264
The Recording docs add a few practical details:
- You can choose a local recording destination.
- You can record
MP4,MOV,MKV, orFLV. - You can choose which canvas gets recorded.
- You can record while streaming.
- You can record without streaming.
A safe starting point looks like this:
- Leave the Main Canvas at
1080punless you have a clear reason to change it. - Start at
30 fps. - Pick a recording folder you can find quickly.
- Use
MKVif you want a safer working format, especially if you may edit later or use multitrack recording. - Make one short test file before the real take.
You can raise quality later. The first goal is stability.
Why Meld is especially good for teleprompted content
The standout Meld feature for this kind of work is Multi Canvas.
Meld’s docs describe it as two canvases inside each scene:
- A Main Canvas with flexible orientations
- A Portrait Canvas locked to
1080×1920
Each scene keeps independent layer stacks for the two canvases, which is a strong fit for creators who want:
- A normal horizontal recording for YouTube or Twitch
- A portrait version for Shorts, Reels, or TikTok
- The same spoken structure across both outputs
That changes how you should write your script. If one take is feeding both horizontal and portrait content, keep your teleprompter lines short. Long explanatory paragraphs feel slow in vertical video.
Virtual Camera is useful, but only on Windows
Meld also has a Virtual Camera output, which the docs say is currently available on Windows only.
That matters if you want to use a teleprompter with:
- Zoom
- Google Meet
- Discord
- Another app that can take a camera source
Meld lets you choose whether the Virtual Camera sends the Main Canvas or the Portrait Canvas. That gives you a clean bridge between a styled Meld scene and a live meeting app, but it does not remove the eye-line problem. You still want the prompt close to the lens.
Common mistakes
These are the ones most likely to waste time:
- Putting the prompt on the same captured desktop
- Building five scenes before one test recording works
- Reading a full essay instead of a spoken script
- Ignoring CUE and checking audio only after the full take
- Jumping to
60 fpswhen30 fpsis already enough - Forgetting that portrait video needs shorter lines
- Recording Meld itself without the second-instance workaround
Official Meld docs worth bookmarking
If you want the official references in one place, start here:
- Meld Studio Docs home for the big-picture overview
- Install for Windows and macOS requirements
- Layers for Display Capture, Browser, Game Capture, Text, Markdown, and Duplicator behavior
- Audio for input sources, monitoring, and voice-focused filters
- Recording for file formats, save location, and canvas recording
- Outputs Overview for multistreaming, recording, clipping, and virtual camera
- Multi Canvas for dual-canvas workflows
- Virtual Camera for conferencing and app handoff on Windows
- Record Meld with Meld if you need to teach Meld itself
- Getting Started with Meld Studio for the official beginner walkthrough
Keep the prompt outside the scene
Meld gets you moving fast, but the cleanest setup is still a simple one: one scene, one capture layer, one solid microphone, and one prompt window kept outside the recorded frame.
If you want a browser-based prompt for your intro, transitions, or close, open the free online teleprompter beside Meld and keep the script short enough that your delivery still sounds live.
Free Tool
Need to practice right now?
Open the browser teleprompter, paste the next draft, make the text bigger, and rehearse the parts that need to land cleanly.
Use the online teleprompter